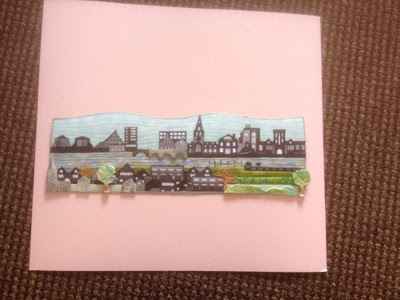
Hi all I have just finished these city skyline embroideries of places dear to me. Paris , London and my home town of Bedford. Photocopies of my own drawings have been worked on to striped and stitched fabric backgrounds with free motion embroidery used to add details to the buildings. Das clay was used to make some of the buildings which were stitched in to place to give a dimensional appearance and wired or paper cut out trees were added to embellish and help with the distance of the skyline. I really enjoyed making these pieces and thought you might like to know that they are a workshop planned for teaching in five weeks time at Tudor Rose Patchwork if your interested in something different and contemporary come and give city skylines a go.
Author Archives: Kathleen
Pop up exhibition in Bedford with Mr x stitch
Preview night was very interesting with many x stitch comments flying about. Jamie however was totally confident with his talent and was having none of the stereotyping that is associated with x stitch. I however found it very interesting listing to both sides and my husband who came with me made for interesting talk over a meal where he gave a very valid argument on why he personally found x stitch interesting from a mans point of view. Sorry girls, you may find x stitch beneath you nowadays but I have it first hand from a man that it is an over looked and inspiring technique which needs to be explored further . Go Mr x stitch for comtempary x stitch.
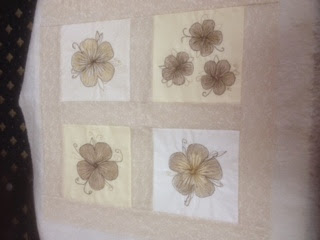
Machine embroidered flora bunds antique hanging
Wow what a weekend .
Hey, Look Who Stopped by My Stand Today
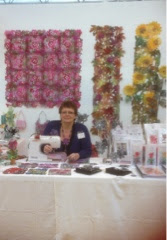
Day Three at the Fashion and Embroidery Show Birmingham and I’m getting ready for the show to open when guess who stopped by for a quick demo.
I looked up and Stuart from the first series of The Great British Sewing Bee was in front of me.
We had a quick chat and he came on to my stand for a quick photo before he was off back to his stand.
Thanks Stuart for stopping by, it was good to meet.

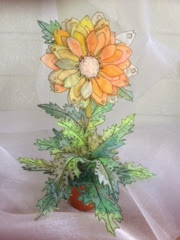
Organza flower pots
Fashion and embroidery show at the NEC Birmingham
PFirst and second day over and very successful. Carolyn and I have this whole setting up the stand down to a fine art. She gives me a time allowance to get it done and we go for it before she’s bored and looking at me in only that way a best friend can tell you your flaffing around.
Gold work dragon workshop
It’s only taken me four weeks of working on this dragon every evening to get him finished for my upcoming work shop. I just love a bit of extra pressure in my life to get my samples done. When will I learn to start earlier.
Painted fabrics
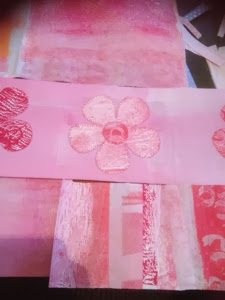
‘Just something a little different to get me going at the start of the year. I have been playing with printing my own designs on to fabric with a new class running alongside me to keep me on my toes. So far we have had one class and looked at roller printing and mono printing using acrylics. I am finding the girls in the class quite inspiring too as I am having to keep one step in front of them and already have heaps of ideas that I just don’t have th time to exercute. Very frustrating in some ways but refreshing also.
Crochet felted bag kit
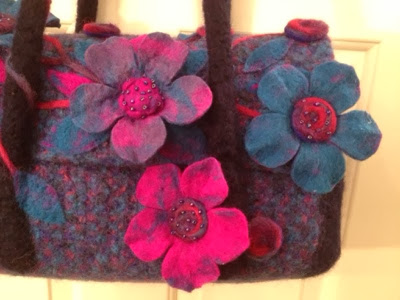
I have so enjoyed making up this crochet bag which once worked and assembled was thrown in to my washing machine with three tennis balls and felted to give this really strong and usable bag. I brought it as a kit which is really weird because it’s normally me designing a kit, not me buying one. This kit came from Judit at Monster yarns, Bedford as a knitted kit. I’m not all that at knitting so I crocheted it instead and the result was just as good as knitting.
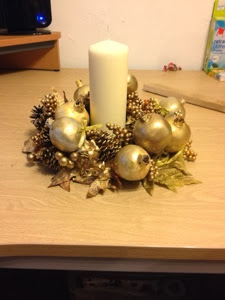
Recycled dusty swag makes new table centre for Xmas day
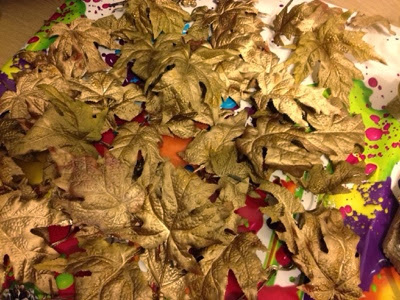
Finished table centre all made from a dusty old swag destined for the bin. Now it can grace my festive table for several more years and I wil enjoy remembering what good fun it was re painting and spraying them with my daughter before spending a peasant afternoon on a discussing wet day making a new wreath


